Excel Migration (Beta)
Learn how to migrate your existing Excel schedules to Inspec.
What is Excel Migration & Getting Started
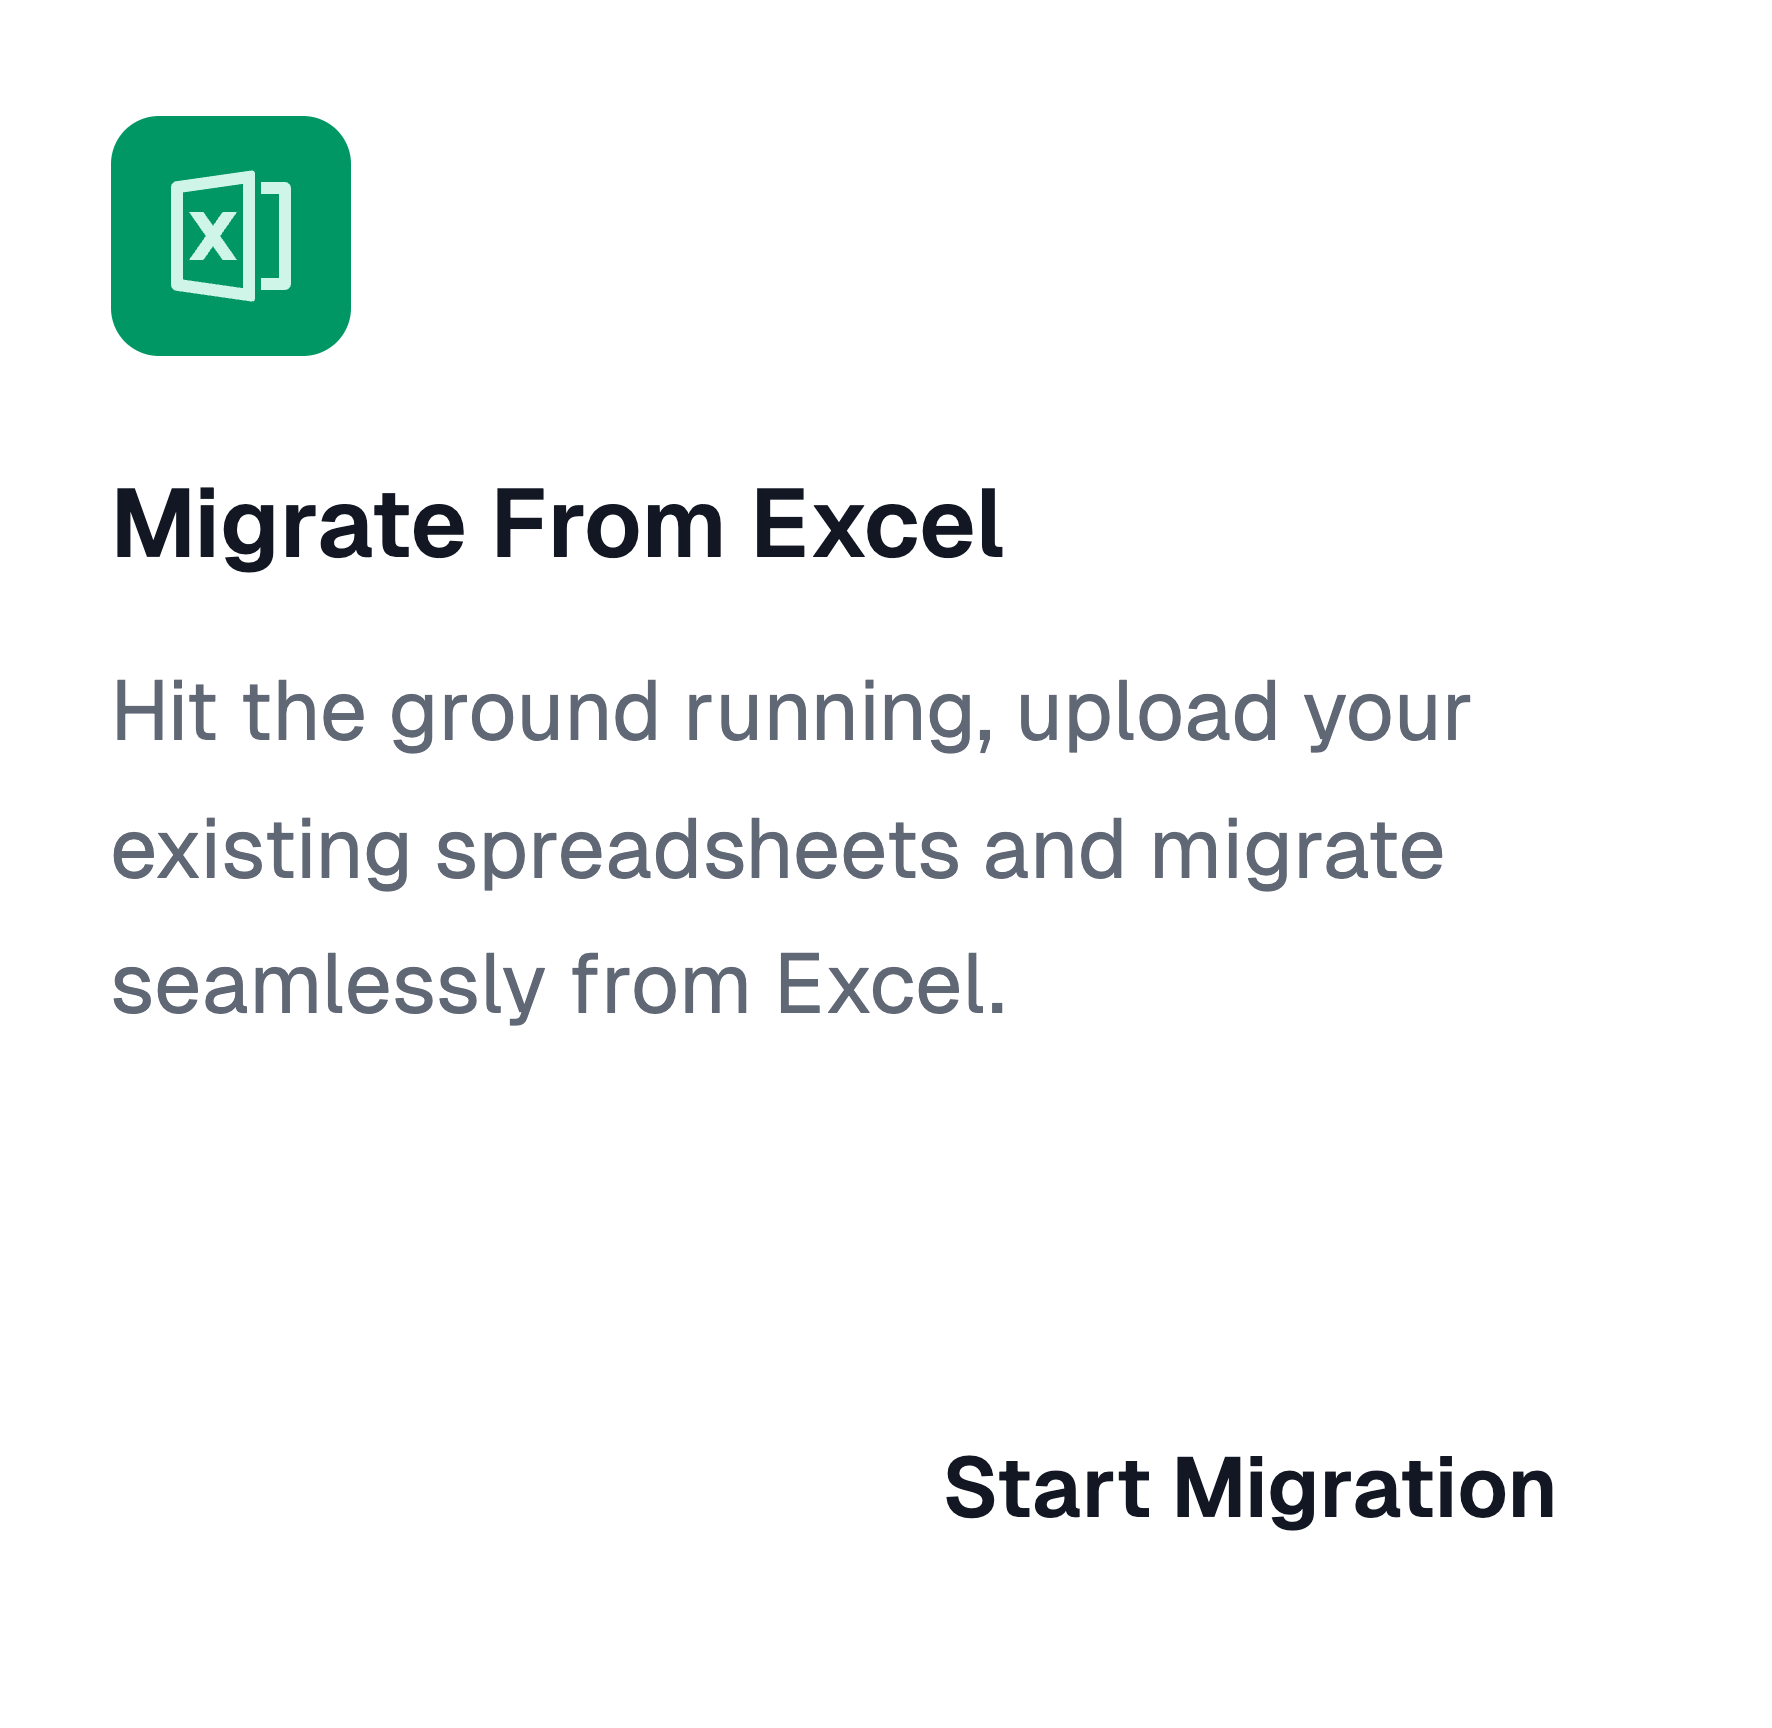
Now you can bring all your existing work in Excel with you to Inspec using our Migration feature. Excel Migration was designed to simplify your transition to Inspec by converting your existing Excel spreadsheets directly into Inspec schedules, without the need for manual data re-entry.
Our Migration feature is currently in Beta and although it has been designed to be as accurate as possible, since every spreadsheet is structured differently, we recommend reviewing your generated Inspec schedule following import to ensure everything has transferred as expected. Any adjustments can be made directly within Inspec after import.
Where to find the Excel Migration feature
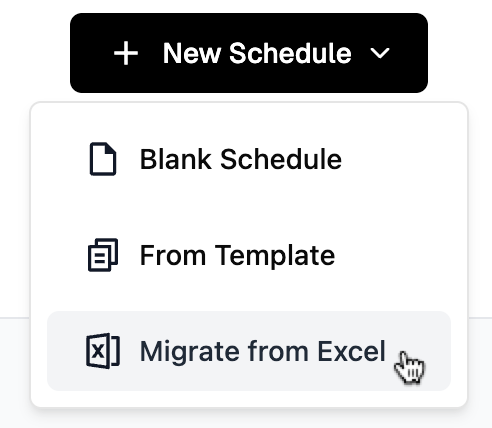
There are two ways you can start migrating your spreadsheets into Inspec:
-
From the onboarding screen if you've just signed up
-
In a project, from the drop down menu that appears when you click on New Schedule
Simply upload your existing Excel spreadsheet and Inspec will automatically convert your data into a structured Inspec schedule, ready for you to review and use straight away. Rather than rebuilding your schedules from scratch, Migration carries your existing work across for you.
Learn more about creating a new schedule.
Supported File Types
Migration supports Excel files (.xlsx) only. There is a file size limit of 100mb per upload.
We are constantly developing this feature and intend to introduce .csv files in the future.
What to know before uploading your spreadsheet
Inspec is built around the concept of multiple independent schedules within each project.
By keeping schedules as separate, individual files within a project, you can:
- Manage each schedule independently — make changes to one schedule without affecting others
- Maintain individual revision histories — track changes and lock revisions on a per-schedule basis
- Distribute schedules effectively — use Issue Report to share specific schedules with the relevant team members and consultants
- Stay organised across complex projects — keep different areas, categories, or disciplines clearly separated
Some studios keep all their schedules in a single Excel file, using multiple sheets to separate different schedules. If that is the case for your studio, you will need to save each sheet as its own Excel file before uploading to ensure the most accurate migration results.
To learn more about how projects and schedules are structured in Inspec, click here.
Tips for best Migration results
- Excel Migration only supports embedded image files that are loaded into your Excel file. Images that are linked to a file on your computer or server will not carry across.
- Hyperlinks & attachments from your spreadsheet may not carry across. These may need to be manually added after import is complete.
- Always have a copy of your existing spreadsheet to compare against the converted schedule.
Migration & Revision Control
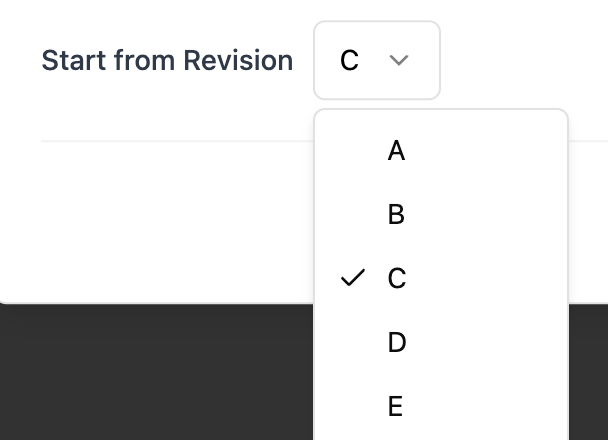
When migrating an existing schedule into Inspec, you may already be working on an advanced revision of that schedule. Rather than defaulting to Revision A as it would with a newly created schedule, Inspec allows you to specify which revision your migrated schedule should begin from.
Example: If your Excel schedule is currently on Revision C, starting from Revision A in Inspec wouldn't accurately reflect the true history of your project. By setting the correct starting revision during migration, your schedule remains consistent with the work already completed and ensures your revision history is accurate from the moment you begin using Inspec.
-
Open the Migration modal — Click + New Schedule in your preferred Migration destination (project) and then Migrate from Excel.
-
Upload the Excel file — Drag or select the Excel file you want to migrate.
-
Select the starting revision — Select from the dropdown menu, confirm the starting revision for your schedule.
-
Click Start Migration — Click Start Migration to begin the process.
Points to note
The revision can only be set during the migration process and cannot be changed once the schedule has been imported.
Future revisions will continue sequentially from the revision you select (e.g. if you begin at Revision C, the next locked revision will be Revision D).