Web Clipper & Add From URL
Learn how to use the Inspec Web Clipper Chrome extension and Add From URL feature to quickly capture product information for your schedules.
Intro to Web Clipper
Web Clipper is our Chrome browser extension designed to accelerate the specification process. Users can capture product information directly from any webpage and automatically populate their schedules, eliminating time-consuming manual data entry.
How to download the extension
Downloading the Inspec Web Clipper is simple and will only take you a few minutes. You must be using Google Chrome as your default browser to use the Inspec Web Clipper extension tool.
- Visit the Chrome Web Store — Visit the Chrome Web Store to download the Inspec Web Clipper extension.
- Access your Chrome extensions — Once downloaded, click on the puzzle icon in your browser bar to view all your Chrome extensions.
- Pin the extension — We highly recommend pinning your Inspec Web Clipper extension for convenience. This will make it a lot easier to quickly capture product information when you're sourcing online.
- Log into your account — Open the Web Clipper extension and log into your account using the same credentials used to sign into Inspec.
- Start capturing — You're all set to start capturing!
Using Web Clipper
The Web Clipper extension tool is really simple to use when sourcing and specifying online. Web Clipper is compatible with a vast majority of websites, however if you do find that you are unable to capture information from a particular site, please contact Inspec Support so that we can investigate further.
Capturing a product for schedules
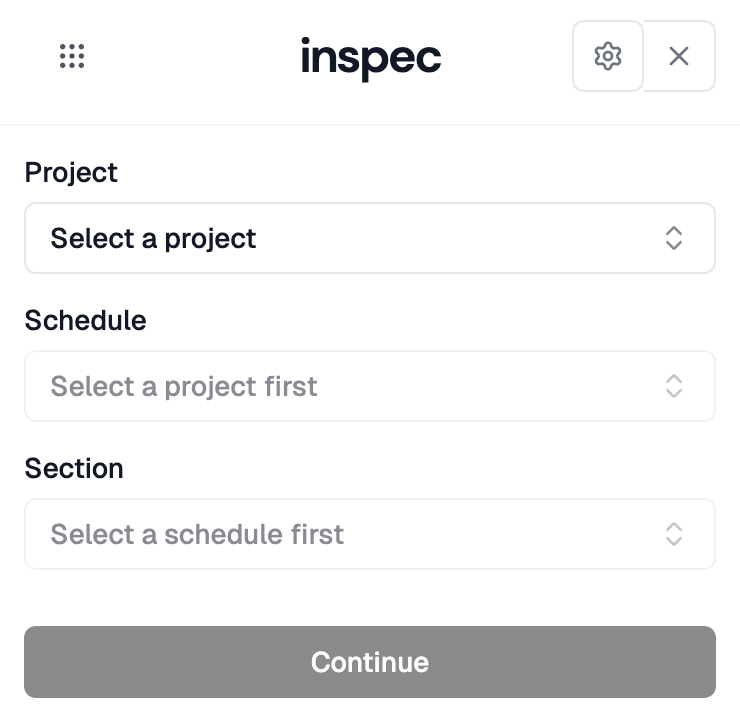
Once you've logged into your account on Web Clipper, you will see three sets of dropdown menus to select your Project, Schedule and Section. Follow the step by step guide below to see how you can capture product information quickly for your schedule.
-
Find the product — Find the product you wish to specify for your project on a manufacturer or supplier website.
-
Open Web Clipper and select destination — Open the Web Clipper extension and select the Project, Schedule, and Section where you would like to add this product. If needed, you can create a new section directly from Web Clipper. Click Continue.
-
Review available fields — Review the available fields from your selected schedule, which are now ready to be populated. This process mirrors adding a new row to your schedule. To learn more about rows, click here.
-
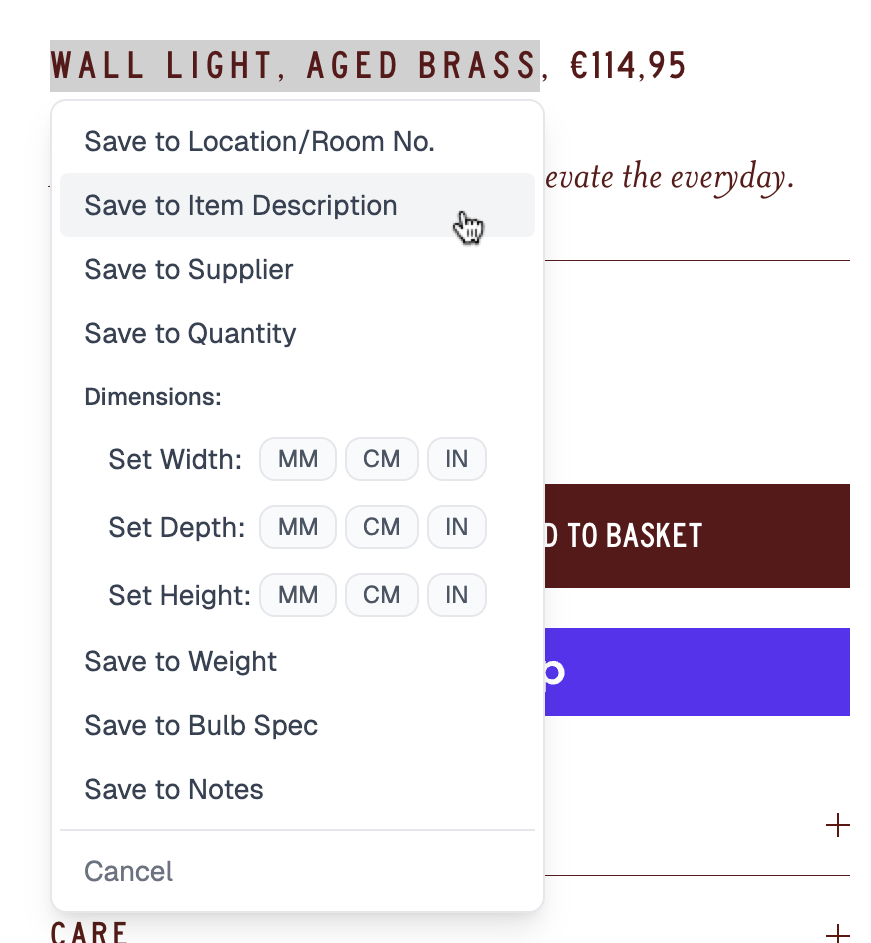
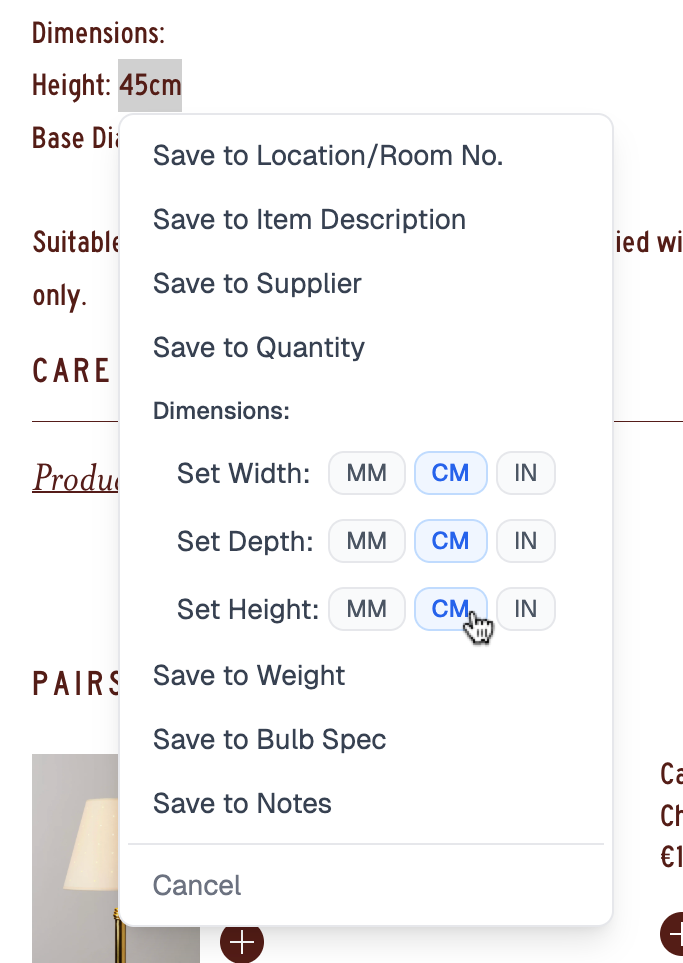
Highlight text to populate fields — Highlight text from the webpage. A dropdown menu will appear displaying available field options. Select the appropriate field to populate with your highlighted text.
-
Supplier fields - Web Clipper will automatically populate Supplier Fields if it recognises the supplier from your Supplier Database. You can still change this by clicking on the supplier name and choosing an alternative from the dropdown menu.
-
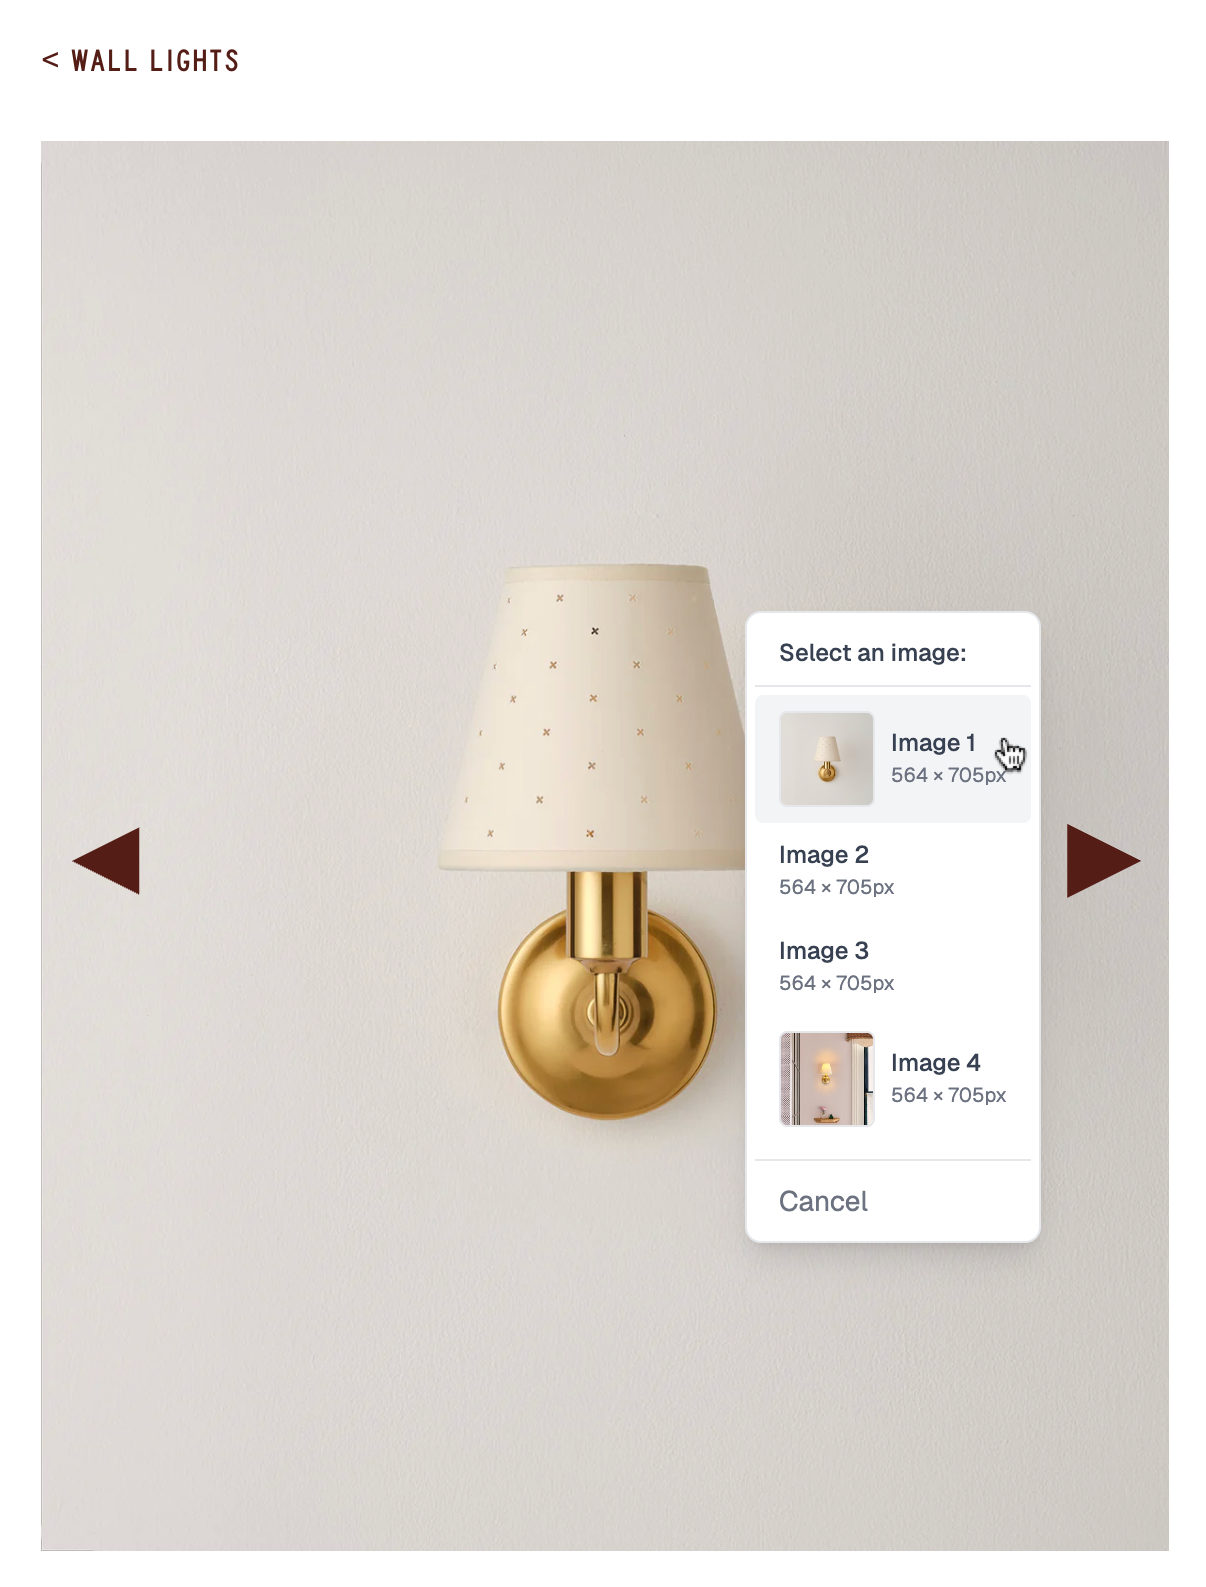
Add images — Images on the page can be right clicked to add to image fields. Replace your image simply by selecting a different image from the page. You can also screenshot your image directly from Web Clipper by clicking the capture icon.
-
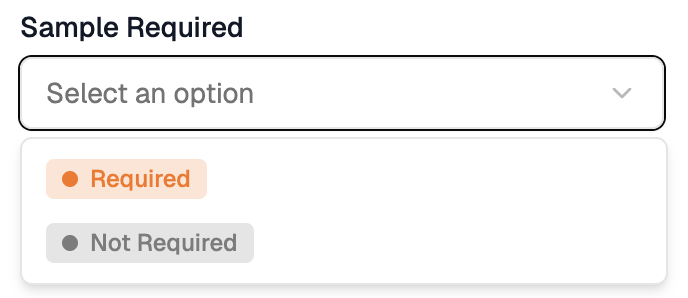
Select options for dropdown fields — You will need to manually select options for Select and Multi-select field types within the Web Clipper interface. To learn more about field types, click here.
-
Capture dimensions — Capture dimensions by highlighting product measurements on the webpage. When the dropdown appears, select the unit of measurement as displayed on the website. Web Clipper will automatically detect the unit if it is highlighted alongside the numerical value. If the website displays measurements in a different unit than your default settings (e.g., inches instead of millimeters), Inspec will automatically convert the measurement to your preferred unit.
-
Confirm your capture — Confirm your capture by clicking the Confirm button at the bottom of the pop-up. The new row will immediately appear in your schedule on Inspec. The URL of the webpage will be automatically added to the Hyperlink field.
Notes
Incomplete data capture: Web Clipper may not be able to populate every field on your schedule. You can manually enter information directly in the Web Clipper interface or capture available data using Web Clipper and complete remaining fields manually within Inspec.
Data loss prevention: Navigating away from the webpage without confirming your captured information will result in loss of all collected data. Always click Confirm before leaving the page.
Moving the pop-up
Web Clipper will default to opening on the right side of your screen, however if you find that it is covering up information you need to capture, then it is possible to move the pop-up around on your screen.
- Click and drag the grip icon — Click and drag the grip icon on the pop-up to move it around your screen.
- Release to snap to edge — The pop-up will snap to the closest edge on your screen when you release the grip icon.
Using Add From URL
Add From URL offers the most efficient approach to schedule population through AI-powered data extraction. By submitting a product URL, the system automatically identifies and populates relevant schedule fields with information sourced directly from the webpage.
While our AI technology is designed to extract the most pertinent data, manual review and refinement may be necessary to ensure accuracy and alignment with project-specific requirements.
- Click Add From URL — Click on the Add From URL button at the bottom of the section tile (your new row will be added to this section).
- Paste the URL — Paste the URL in the field and press Enter on your keyboard to add the row.
- Wait for extraction — Await the product details to be extracted from the URL provided (this can take a moment).
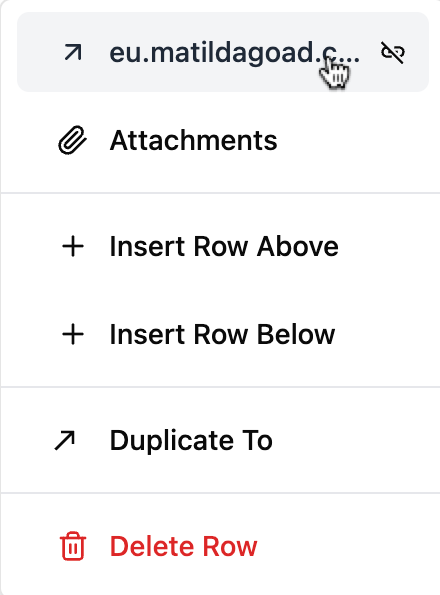
- Review and adjust — Review the details to ensure they are correct, and adjust where necessary. The URL of the webpage will be automatically added to the Hyperlink field — click the grip icon on the left of the row to view it.