Intro to Products
Learn how to use products and manage your product library.
What is the purpose of the Product Catalogue
The Products tab was designed to continue streamlining the specification process. Your catalogue grows organically as your entire team works, becoming more valuable with every project across the studio.
Whether you're specifying the same pendant light across multiple projects or maintaining a curated selection of go-to finishes, the Product Catalogue transforms your past work into a time-saving resource for future projects.
Where to find your Products
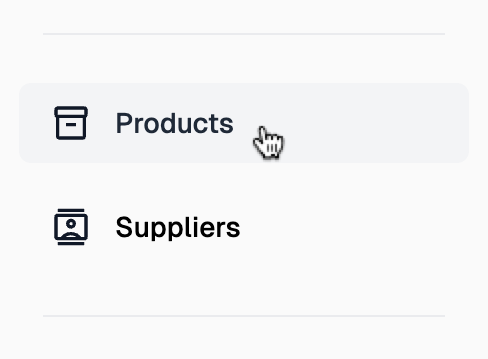
To access your company-wide catalogue, go to the side bar on the left side of your screen and click on the Products tab.
Overview of Products page
There are two main tabs at the top of the Products page, All Products and Favourites. These tabs are used to help categorise your products.
To the right side of the page, you will see a search bar, a filter icon and a sort by dropdown menu. You can filter your products by Supplier or by the custom tags you assign when creating a product. To learn more about Suppliers, click here.

In the top right corner of the screen is a + Add Product button. You can also add products to your catalogue that have been specified in your schedules. To learn more about adding products from your schedule, click here.
Organising your Products
As your catalogue grows, staying organised becomes essential. There are several ways to keep your products easy to find and manage:
- Favouriting your most-used products — Mark frequently specified items as favourites for quick access when building schedules.
- By Supplier — Group products by supplier to streamline your workflow when working with preferred vendors. Products and the Supplier Database are directly linked. To learn more about Suppliers, click here.
- By Tags — Create custom tags to categorise products by type, style, availability, or any classification that suits your company's workflow. You can edit/delete tags by clicking the Manage Tags button in the top right corner of the screen.
How to favourite Products
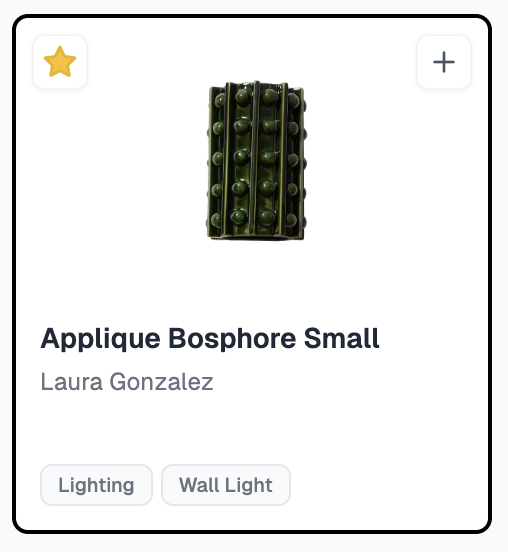
When hovering above a Product, you will see two buttons appear at the top of the tile, a star icon on the left and a + icon on the right. To add the Product to your favourites, click on the star icon and it will turn yellow.
To remove a product from your favourites, click on the yellow star and it will automatically disappear from that tab category.
To view favourited products, click on the Favourites tab at the top of the page.
How to add Products to your catalogue
Products can be added to your catalogue from the Products page or directly from your schedule.
Directly from Products
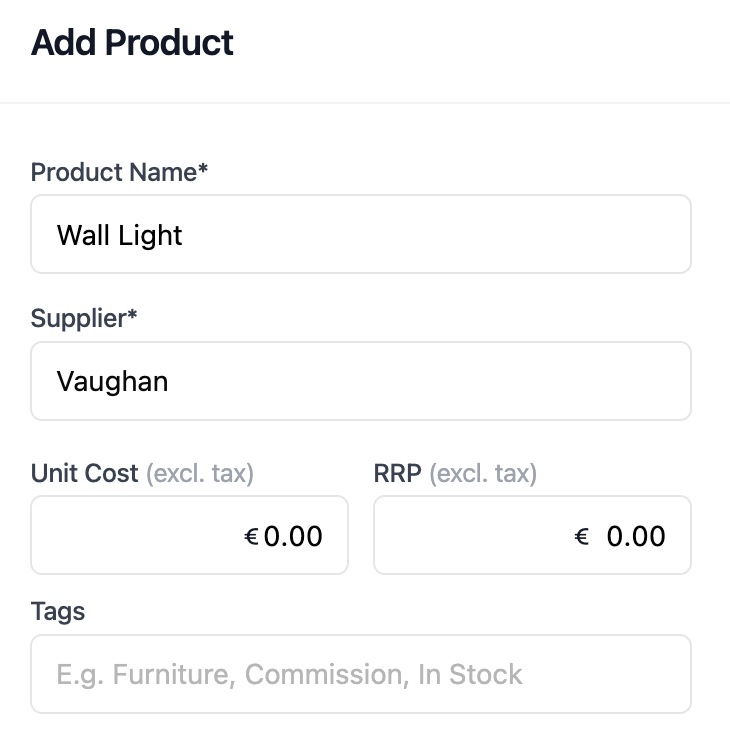
- Click the + Add Product button in the top right corner on your screen.
- Enter the product name & supplier, assign any categorisation tags and add the product image on the left side of the pop-up screen.
- To fill out the product specifications, either select your fields from a saved template, or create custom fields. To learn more about why we recommend using fields from your templates, click here.
- If using template fields, remove any fields that are not product specific. Populating project specific fields may cause confusion when this product is added to future schedules.
- When you've added all the relevant information, click Add Product.
Directly from your Schedule
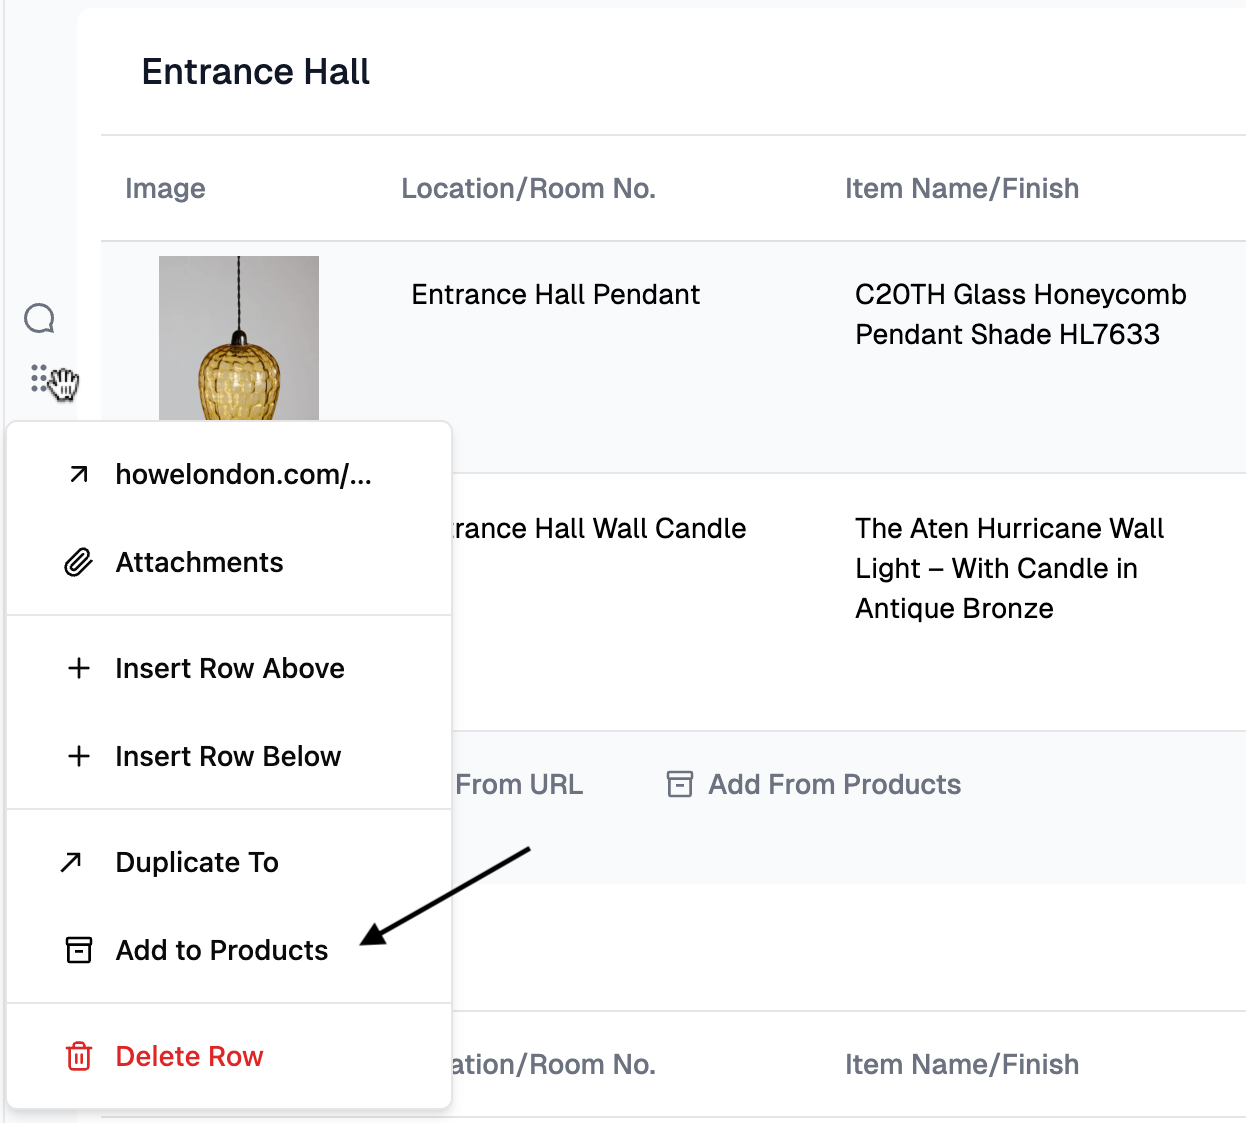
Simply click the grip icon on any row with data and select Add to Products — Inspec will extract all the data from your schedule relating to that product and prompt you to review and confirm exactly which fields to store. This gives you full control over what's saved and ensuring only relevant product data makes it into your library. To learn more about the importance of selective saving, click here.
You can edit product information at any time on the Products page. To learn more about editing a product, click here.
Using saved templates for specs on new Products
When you create a product directly from the Products page, we recommend basing it on one of your saved schedule templates. This ensures the product fields match the schedules where you'll eventually use that product.
Inspec gives you complete control over your schedule fields — which means we can't always predict what information you'll need for each product, or which information about a specific product you'll want to add to your schedule. By creating products based on your templates, you ensure consistency between your Product Catalogue and your schedules.
When you create a product using a template, the product inherits the same fields as schedules created from that template. Before saving, remove any duplicates (mainly supplier or product name since these are already required by default for products) and any fields that are project or schedule-specific rather than product-specific. For example, you'd remove a "Quantity" field since one project might need 2 wall lights while another needs 6 — that's schedule information, not product information. Keep only the fields that describe the product itself, like finish, dimensions, supplier, or bulb spec.
Later, when you add that product to a schedule created from the same template, all the relevant product information transfers automatically — no manual re-entry needed. This way, Products and Schedules stay in sync, saving you time and reducing errors when adding products to your projects.
If your product fields don't match your schedule fields perfectly, then you will be able to make adjustments in the Field Mapping modal. Product Name & Supplier are required fields and will always be available to field map when you add the product to your schedule. To learn more about Field Mapping, click here.
What product information should be saved from schedules
When adding a product to your library from a schedule, consider which information is relevant to the product itself versus details that are project-specific.
For example, fields like Quantity, Room Location, or Status typically change depending on where the product is used and may not need to be saved to the library.
For best results, we recommend you save the information that you'll want to reuse across projects — such as product name, supplier, dimensions, materials, and finishes. If all fields in your schedule describe the product, feel free to save everything. This flexibility ensures your library works efficiently for your workflow.
How Products and Suppliers work together
Products and Suppliers are automatically linked in Inspec to keep your catalogue organised and make it easier to find what you need. You cannot save a product that does not also have a supplier. We always recommend users apply a Supplier Field Type to their schedule templates. This will ensure consistency, reduce manual data entry and save you lots of time in the long run. To learn more about Suppliers, click here.
When you add a product to your catalogue, whether it be directly from a schedule or from the + New Product button, Inspec will automatically check your Supplier Database:
- Supplier doesn't exist yet — Inspec will prompt you to create the new supplier in your database and link the product to it
- Supplier already exists — The product is linked to the existing supplier entry
All products sharing the same supplier are automatically connected, so your catalogue stays organised without any extra effort from you.
If you delete a supplier from your database that has products linked to it, those products will also be deleted unless the supplier information is manually adjusted beforehand.
Adding Products to your schedules
There are two ways to add any existing Product in your catalogue directly to your schedule.
Directly from Products
-
Hover above your product tile to see the + icon appear in the top right corner.
-
Click the + icon to reveal an action bar at the bottom of the screen, and select Add To Schedule. Remember you can select multiple products at once.
-
Review and adjust the Field Mapping on the pop-up, and click Add to Schedule. If you are adding more than one product, you will have to field map each product individually. To learn more about Field Mapping, click here.
-
The product(s) will be added to the bottom of your selected section.
-
Any schedule fields that match your saved product details will automatically populate.
From your schedule
-
When working in your schedule, click on the Add From Products button at the bottom left of the section.

-
On the pop-up, you can search for your product, or select from your favourites. Click on the Product you want to add and remember you can add multiple at once.
-
Review and adjust the Field Mapping on the pop-up, and click Add to Schedule. To learn more about Field Mapping, click here.
How to use Field Mapping
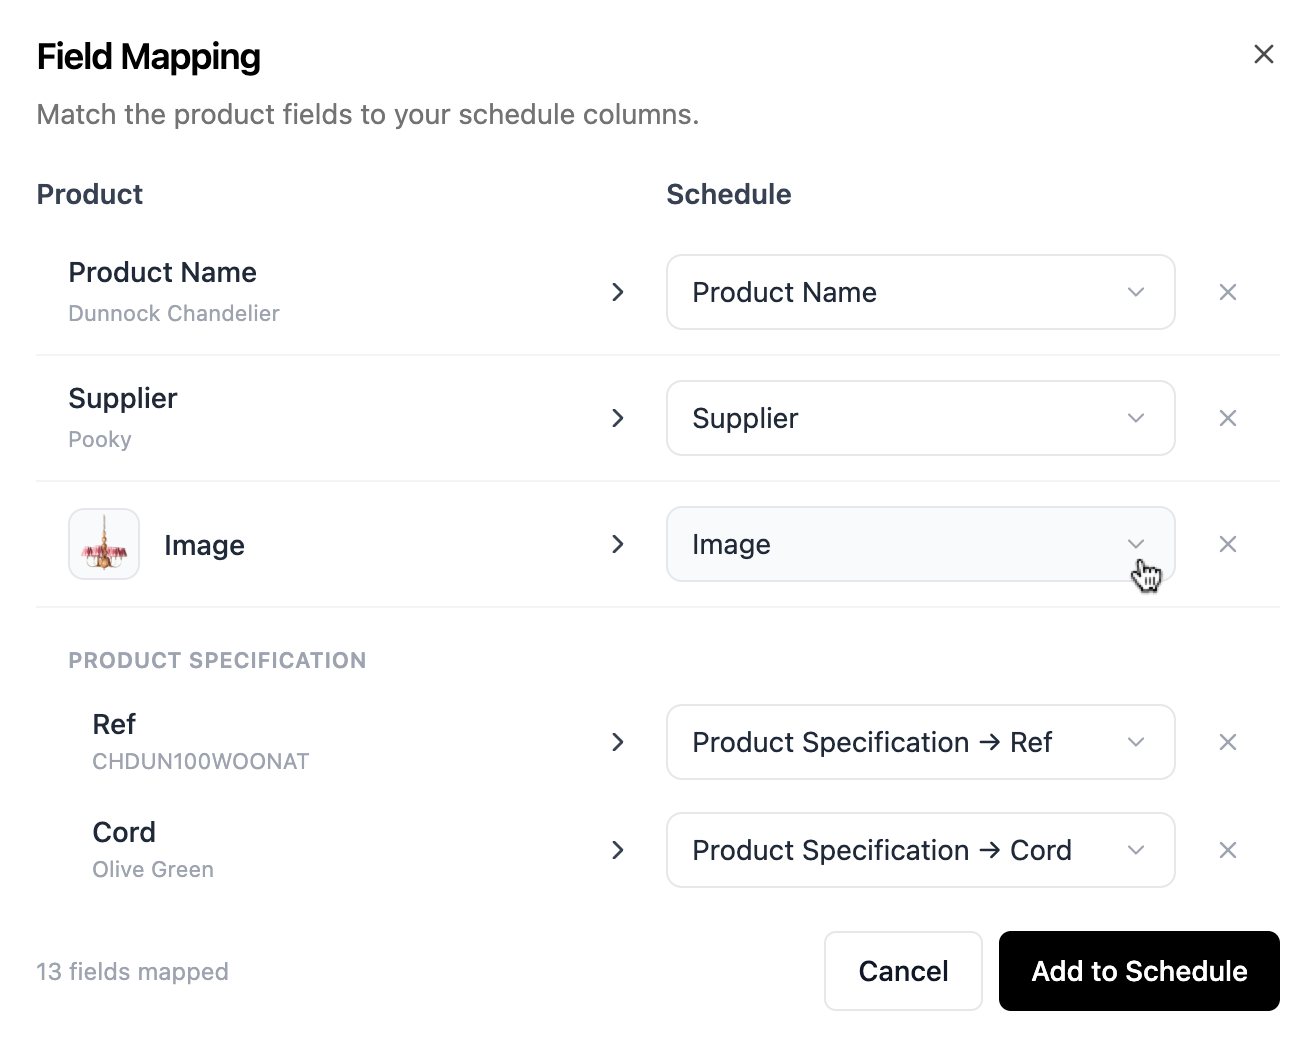
Inspec automatically matches product fields to schedule fields when the names are identical. But if you're adding a product that was saved from a schedule with different field names, Field Mapping lets you manually align them so the information transfers correctly.
If a product was saved with a field called "Product Finish" but your current schedule has a field called "Colour," the information won't transfer automatically. Simply use the Field Mapping dropdown to match "Product Finish" to "Colour," and the details will populate in the right place in your schedule.
This gives you flexibility to use products across different schedule templates, even when field names don't align perfectly.
If you are mapping product fields to a Property field within your schedule, you will be able to allocate these to the specific property by following the prompts on the dropdown menu. To learn more about how property fields work in schedules, click here.
To learn more about how you can maintain consistency with your products and schedules, click here.
Product pricing
You can now record basic pricing details against products in your catalogue. These prices can then be easily transferred to your schedules or estimates saving you time and minimising any duplicative manual entry.
There are two different prices you are able to record against your products. These prices should either exclude or include tax depending on how you configured your tax rates. To learn more about setting your tax rates, click here.
Unit Cost - the cost of the product to you (usually a trade discount price).
RRP (Recommended Retail Price) - the price the client would pay if purchased themselves.
Adding product prices to your schedule
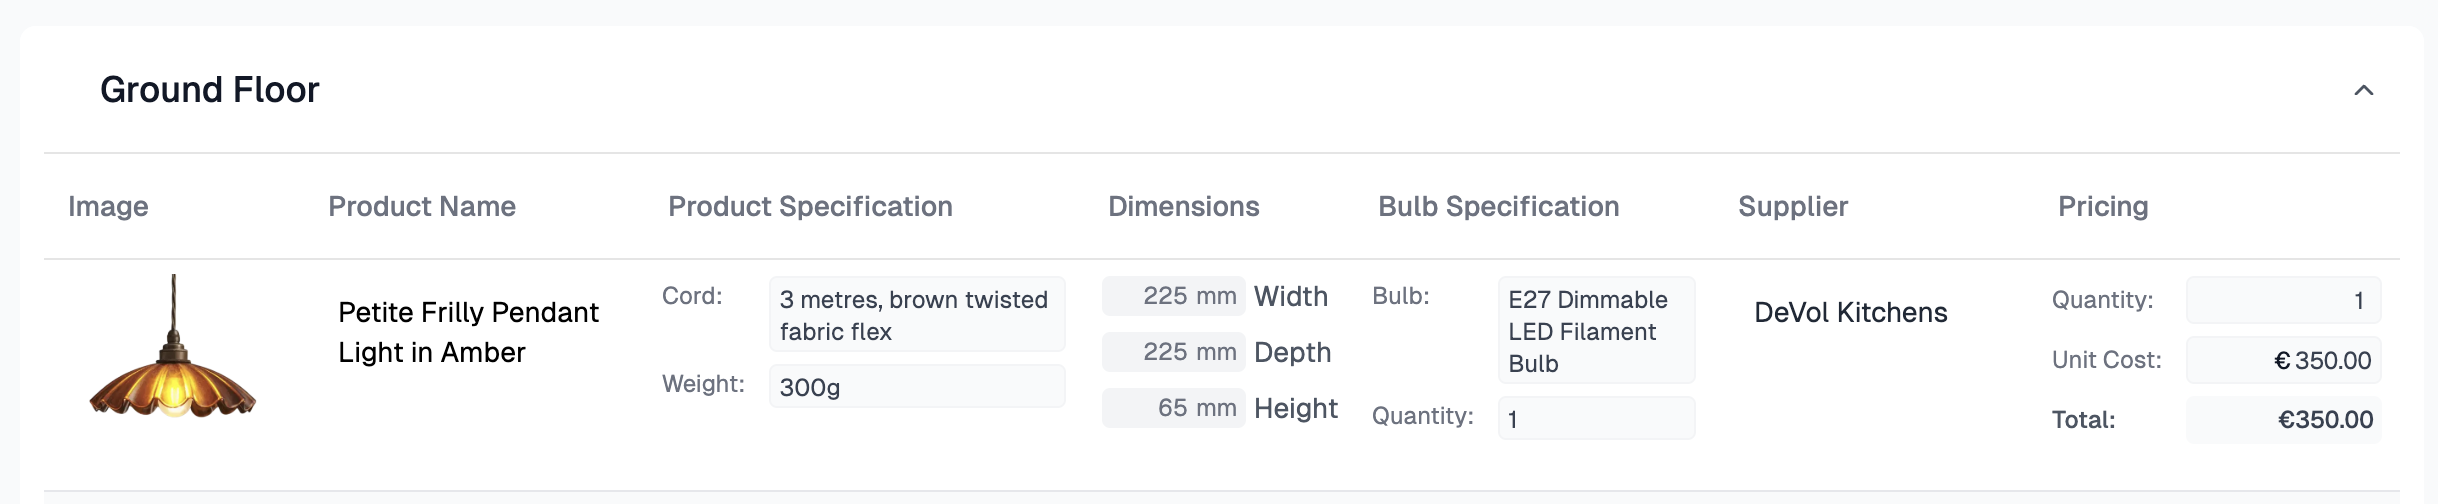
When you add a product to your schedule that has a Unit Cost recorded against it, that cost will pre-fill automatically in your Price Field Type with a default quantity of 1. You can update the quantity field at anytime, and the cell will calculate your Quantity x Unit Cost for you automatically.
A schedule must contain a Price Field Type for product pricing to transfer across. To learn more about Price Field Types in schedules, click here.
Note: Product Pricing
Remember that if you share your schedule, the unit cost will be visible unless hidden. This may be an issue for anyone who wishes to markup their products or is not willing to offer trade prices to their clients. To learn more about hiding fields on exports, click here.
Contacting suppliers about products
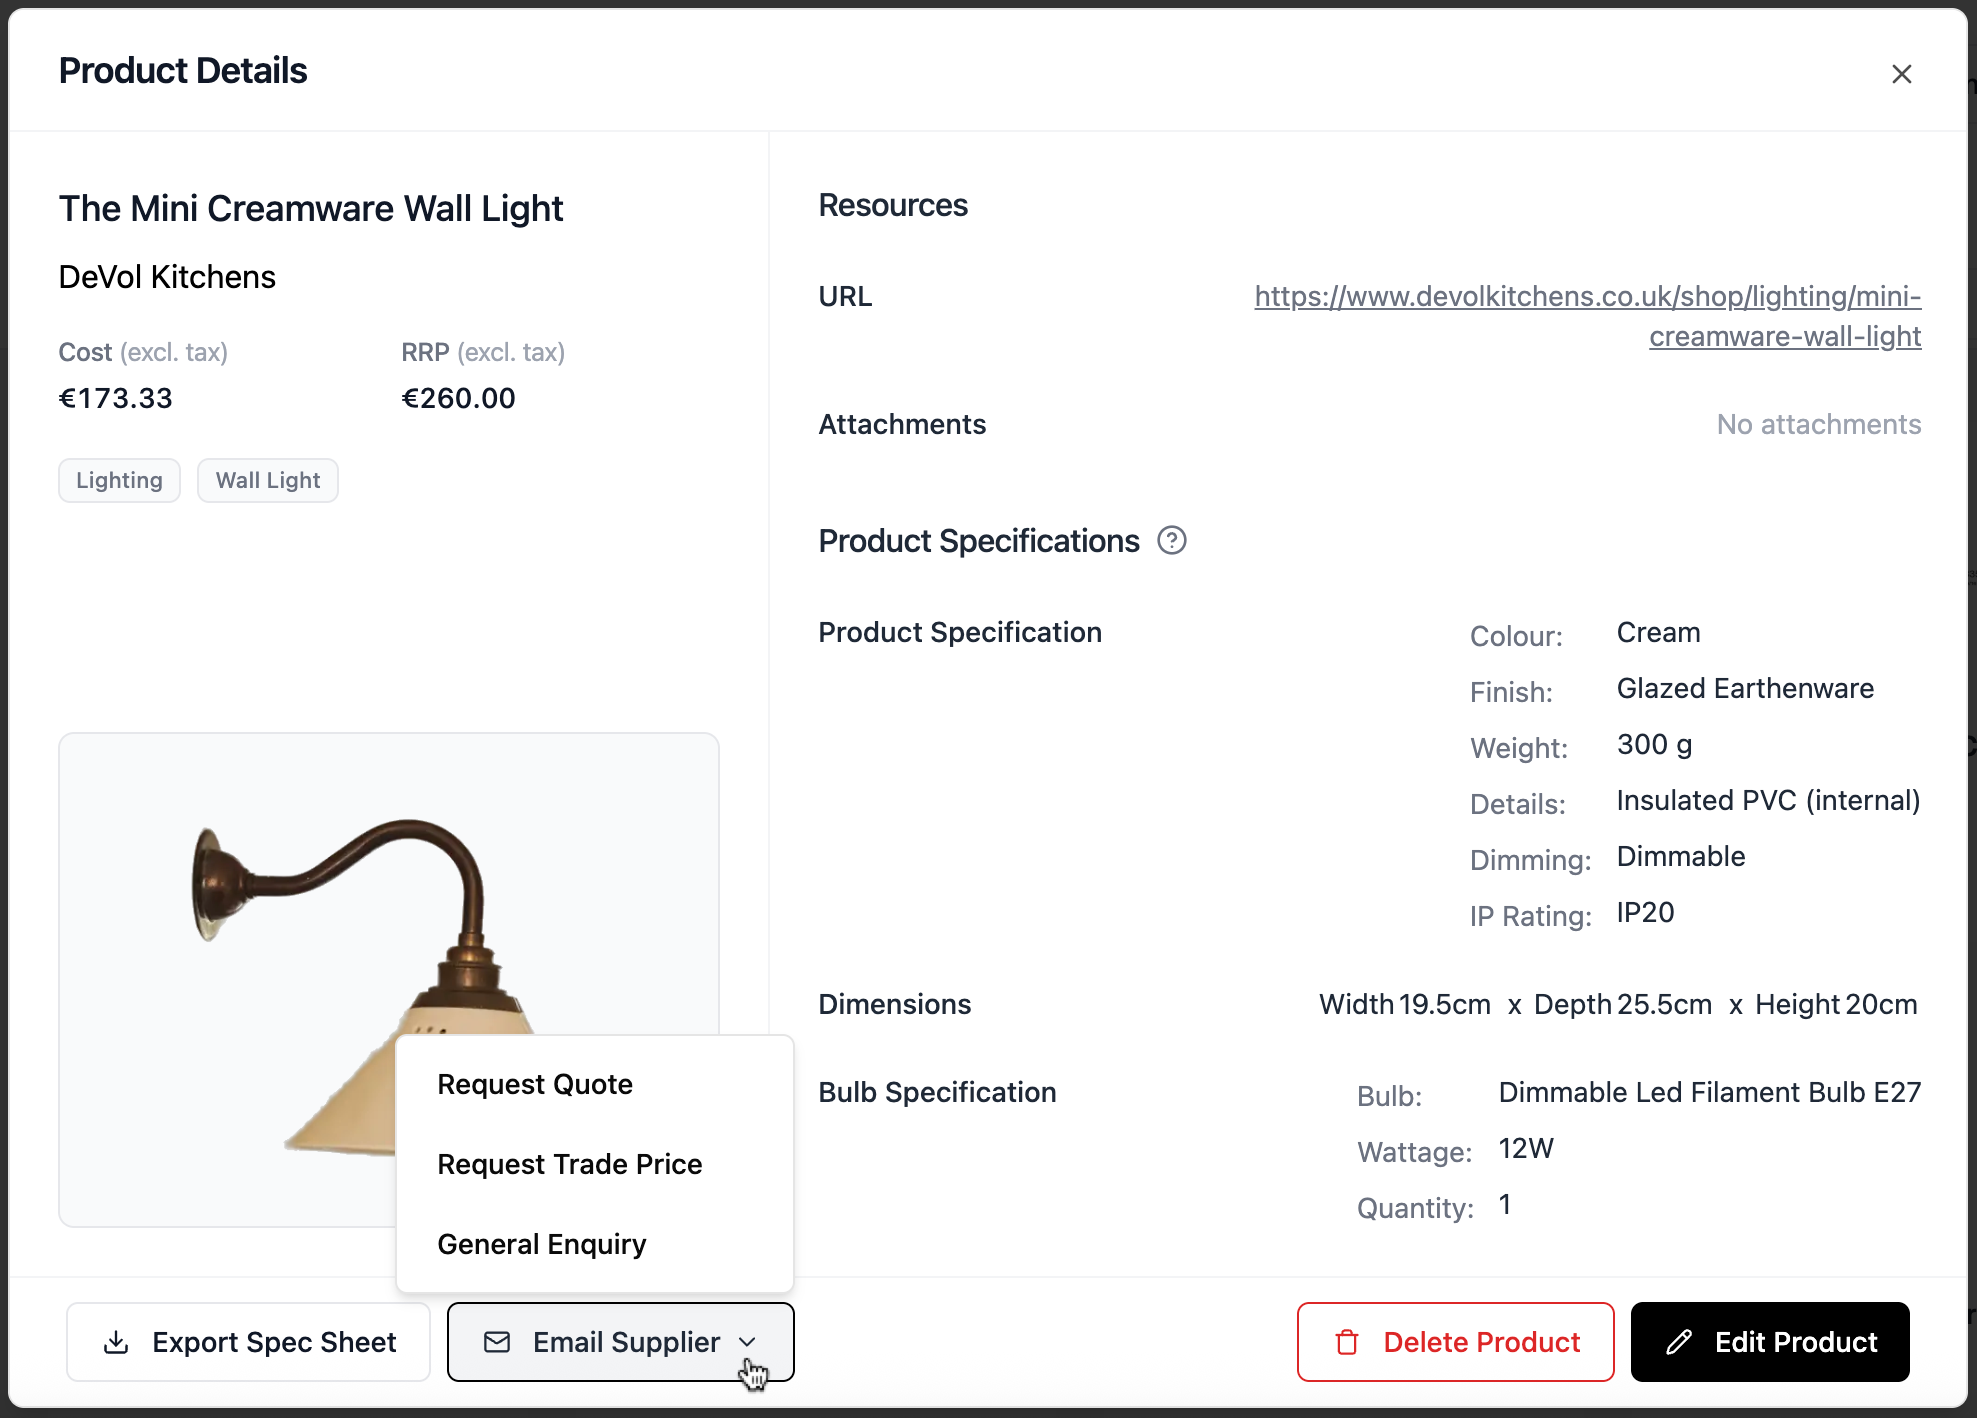
When you view a product in your catalogue, you have the ability to contact the supplier directly (provided you have the contact information for that supplier saved in your database). On the bottom of the product tile, you will see a button to Email Supplier which you can select from following options:
- General Enquiry - you might ask for stock availability, a list of alternative finishes, product lead time etc.
- Request Trade Price - ask about your trade discounts for that specific product
- Request Quote - ask for a pro-forma invoice that can be referenced on your estimate
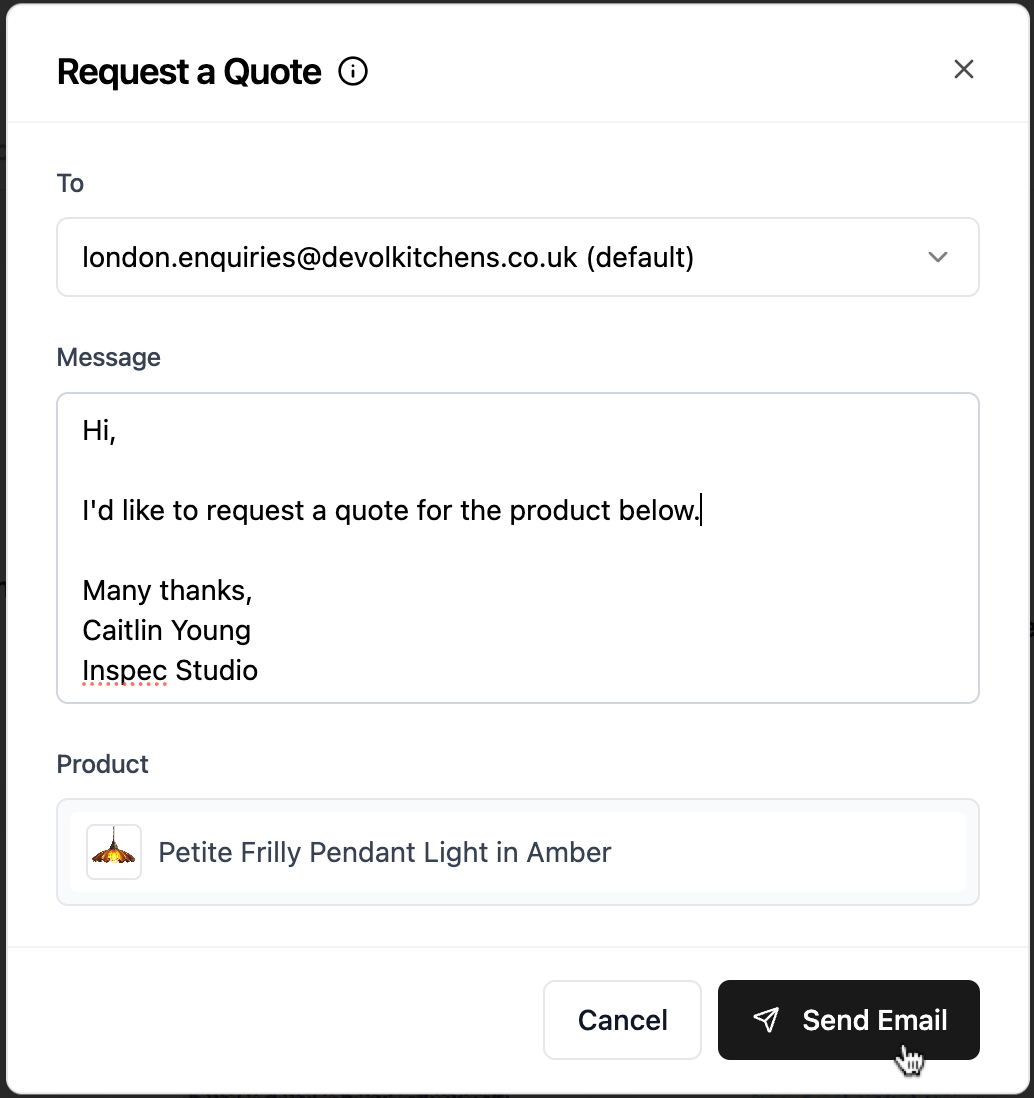
You can customise your message or use the pre-filled email template provided by Inspec. General Enquiry emails will always require you to write a custom message.
- Select your email context - choose from the dropdown list which type of email you wish to send, general enquiry, trade price or quote request
- Confirm your receipient - your supplier's email address is added by default. If you have multiple emails saved in your database for that supplier, you can choose from the list.
- Prepare your message - add any additional details to your message before hitting send
- Confirm the product - Inspec will attach the product information to your email for you based on what you have saved in your catalogue
- Send email - when you hit send, the supplier will receive this message as if it has been sent directly from your email address. When they reply, you will receive this in your regular inbox, that way you can continue the conversation if required.
Editing & deleting Products
After you have saved a Product to your catalogue, you can edit the information, update the tags or add attachments at any time. You can also delete a product.
- Go to your Products tab and find the product you want to edit/delete.
- Click on the product tile and a pop-up will appear with the product details, click either Edit Product or Delete in the bottom right corner.
- When you select Edit Product, all fields open up to be altered. Click Save Changes when you're finished making updates.
When you edit a product in your catalogue, the changes only apply to future schedules. Schedules that already contain that product will keep their original details, protecting your locked revisions.