Intro to Revision Control
Learn how to use Revision Control to track changes and manage revisions in your schedules.
Why you should use Revision Control
Revision Control is Inspec's advanced change management feature that automatically tracks all modifications to your schedules throughout the design process. This ensures clients, contractors, and consultants remain informed of the latest design decisions whenever schedules are distributed.
Turning on/off Revision Control
Revision Control operates on a per-schedule basis, and is enabled by default for all new schedules.
Here is how to turn on/off Revision Control for your schedules:
- Access schedule settings — Click on the schedule Settings button on the top right of your screen when you are working in a schedule.
- Toggle Revision Control — Toggle on or off Use Revision Control.
- Configure Issue Report (optional) — Decide if you would like to also include this schedule on your Issue Report. Learn more about Issue Report. (Only schedules with Revision Control enabled can be included on Issue Reports.)
- Save your changes — Click Save Changes to confirm your preferences.
How to lock revisions
All new schedules with Revision Control enabled will default to Revision A upon creation. Once the schedule is ready for distribution, the revision must be locked to prevent further modifications. Locking a revision does not restrict ongoing work within the schedule, it simply ensures that the specific revision remains unchanged, preserving its integrity for distribution purposes.
-
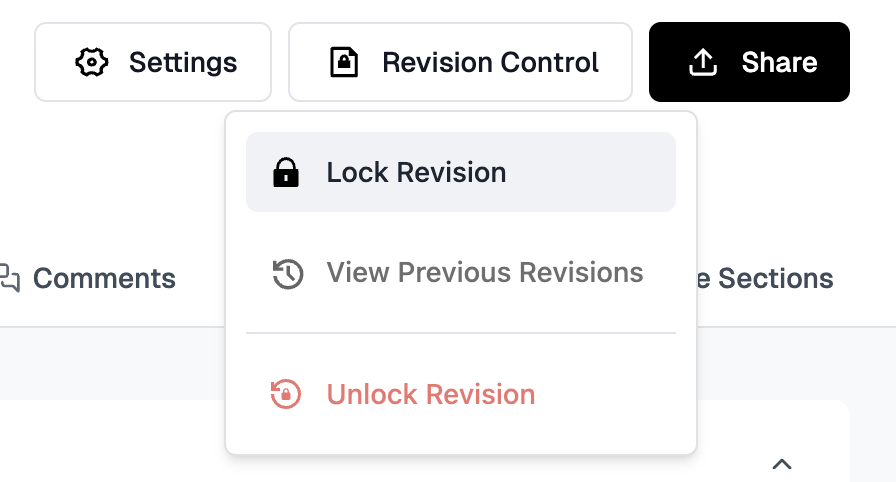
Open Revision Control — Click the Revision Control button in the top right corner of your screen.
-
Lock the revision — Choose Lock Revision from the dropdown menu.
-
Confirm your action — Inspec will ask you to reconfirm you would like to lock the revision you have just created, choose Confirm if you are happy.
-
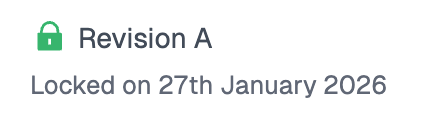
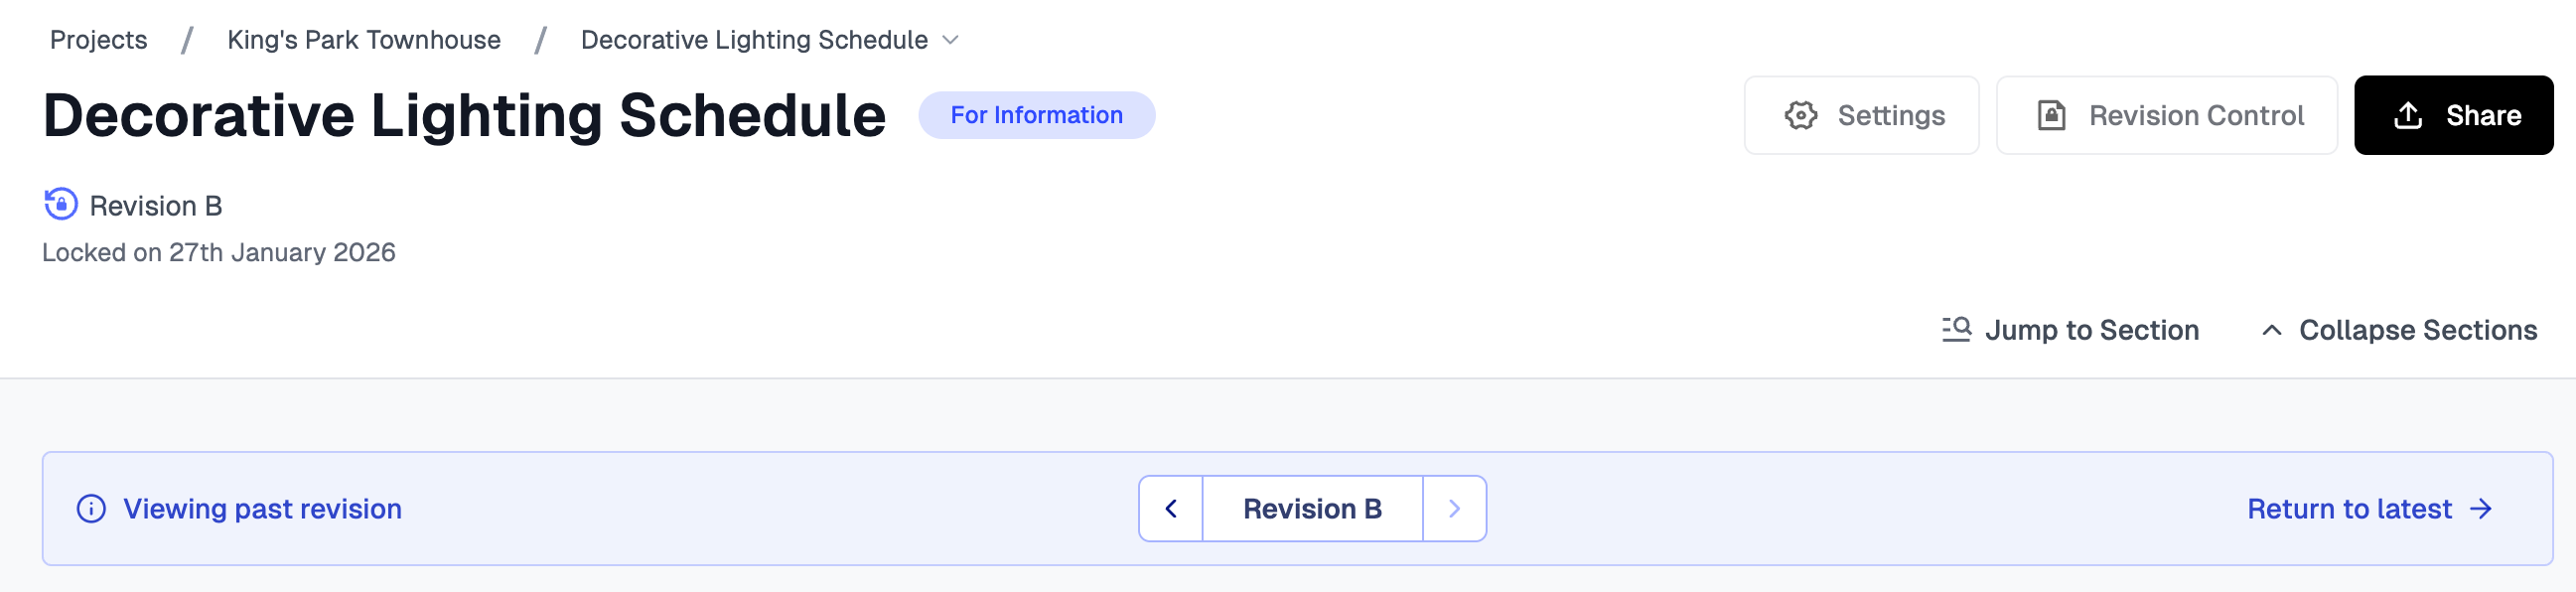
View locked revision state — Once locked, the state of that revision will be visible beneath the schedule title at the top of your screen. Here you can see the date the revision was locked for editing.
A locked revision means any changes you make to this schedule now will automatically become Revision B and so forth.
How to unlock revisions
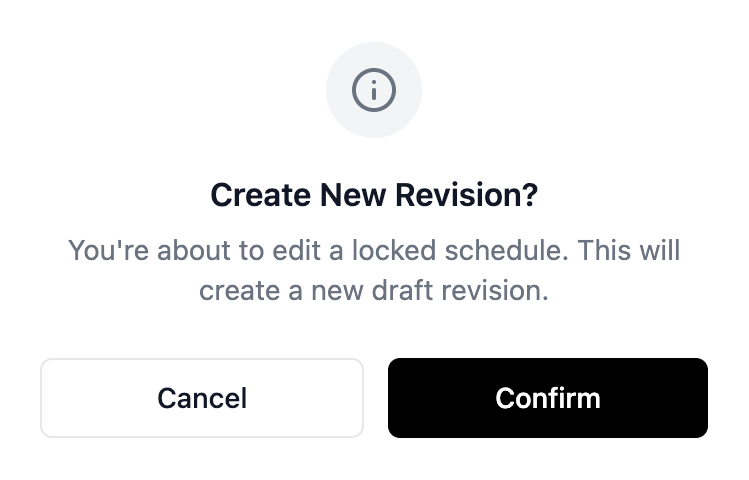
To unlock a schedule, simply click into the cell you wish to edit. Inspec will notify you that you are about to make changes to a locked version of your schedule, but if you are happy to proceed, click Confirm.
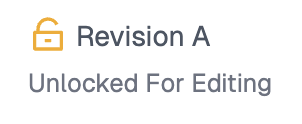
For example, if you have a schedule locked as Revision A, and you start to make changes, your schedule will automatically become Revision B and will be unlocked for editing.
Overruling a locked revision
Although it is not recommended since it could lead to confusion or error, it is possible to overrule a locked revision if there are amendments that need to be made.
Overruling a locked revision is only possible if that revision has yet to be distributed with Issue Report. Learn more about Issue Report here.
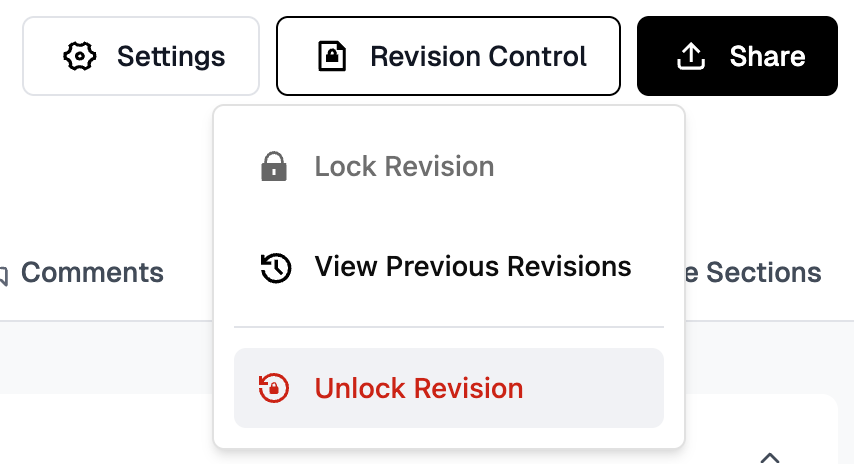
- Open Revision Control — Click on the Revision Control button in the top right corner of your screen.
- Unlock the revision — Choose Unlock Revision to revert the locked for editing state (the option will not be available if the schedule hasn't been locked or if the schedule has been distributed already).
- Confirm your action — Confirm you are happy to unlock the revision.
- Continue editing — Continue making edits to your schedule.
Comparing revisions
Users have the ability to compare different revisions to easily see where changes have been made throughout the design process.
In this mode you are not able to make any changes, but you can see exactly what data was changed between revisions.
- Open Revision Control — Click on the Revision Control button in the top right corner of your screen.
- View previous revisions — Choose View Previous Revisions which will open a view only mode.
- Compare revisions — On the blue bar, you can click between revisions to see what has changed (all changes will be highlighted).
- Exit view mode — To exit the view mode, click Return to latest in the yellow bar at the top of the schedule.
Automatic change tracking
Inspec's Revision Control feature includes automatic change tracking, which visually identifies where any changes have been made between schedule revisions by highlighting the new information in a faint orange.
For example, if Revision A has been locked and subsequent changes are made (creating Revision B), the following modifications will be highlighted in Revision B to indicate deviations from the original schedule:
- Modified information within existing rows or cells
- Newly added rows
- Newly added sections
- Newly added fields or columns
You can turn off automatic change highlighting on PDF exports even if Revision Control is enabled on your schedule. When you toggle off Highlight Changed Cells under Export Settings, changes will no longer be highlighted in your exported PDFs. However, note that all changed cells will still be highlighted in your browser while you work on the schedule so that it is clear to your team what has changed since the previous revision.
Issuing revisions through Issue Report
If you have Revision Control enabled on your schedule, then it is also possible for you to include the schedule on your Issue Report.
The Issue Report feature enables users to share their schedules directly with external design teams collaborating on the project. To learn more about Issue Report and Distribution Lists, click here.
When a schedule is locked, it will automatically become available to share to anyone on your distribution list for that project. Anyone who receives a copy of your schedule through Issue Report will also be able to see where changes have been made since the previous revision (this applies only to Revisions B and onwards). To learn more about Automatic Change Tracking, click here.
Unlocked schedules cannot be shared through Issue Report, but are still able to be exported as a PDF. Learn more about exporting PDFs.
- Navigate to your project — Once you have a locked schedule and you're ready to share, navigate back to your project page by clicking on the breadcrumbs at the top of your screen.
- Open Issue Report — Click on the Issue Report tab for that project to view the list of included schedules and your distribution list.
- Select schedules — Select the schedules you would like to issue (you can select more than one locked schedule).
- Select recipients — Select the members from your distribution list that you would like to issue these schedules to (this just means that those people will receive an email with the schedules and issue report attached).
- Preview (optional) — Click the Preview button if you would like to see the Issue Report before it is sent to your distribution list.
- Issue schedules — Click Issue Schedules on the bottom right of your screen when you are happy with your selections.
- Check your email — Check your own email inbox for a copy of the issued schedules.