Adding Content to Schedules
Learn how to enrich your schedules with attachments, hyperlinks, products, images, and suppliers.
Adding attachments to your schedule
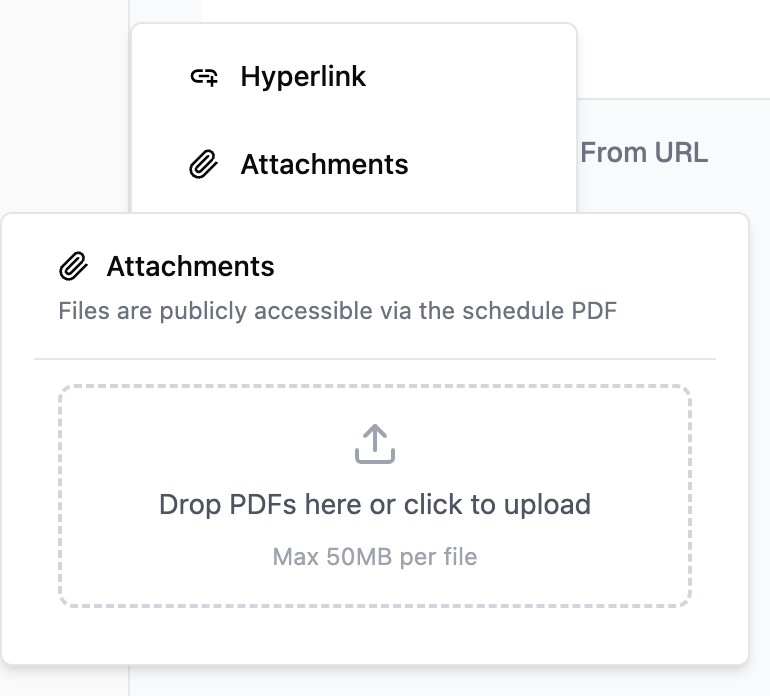
Adding attachments to a schedule is a convenient way to redirect your contractors & consultants to spec sheets, installation guides etc that are relevant to the product or item in a specific row. Your attachments are then easily downloadable from the exported PDF document by clicking on the document icon to the left of the row.
-
Access the row menu — Hover over the relevant row and click on the grip icon to the left of the row.
-
Open attachments — Click on the Attachments option from the dropdown menu.
-
Upload your files — Upload your PDF documents (up to a maximum of 3 files).
-
Preview attachments — To preview the attached file(s), repeat steps 1 & 2, (the number of attached documents will appear) then click on the highlighted link to the PDF to open in your browser.
Note: PDF exports
Attachments are visible on PDF exports by default, however you can hide them in schedule Settings. To learn more about schedule export settings, click here.
Adding hyperlinks to your schedule
Adding hyperlinks to your schedule can be a useful tool to reference the product on the supplier's website or to provide valuable information on the specification.
Hyperlinks can only be added to individual rows. Only one hyperlink per row can be added.
- Access the row menu — Hover over the relevant row and click on the grip icon to the left of the row.
- Open hyperlink option — Click on the Hyperlink option from the dropdown menu.
- Add your URL — Paste the website URL and click save.
Note: PDF exports
Hyperlinks are visible on PDF exports by default, however you can hide them in schedule Settings. To learn more about schedule export settings, click here.
Adding Products to your schedule
You can add any existing Product in your catalogue directly to your schedule.
- Click on Add From Products — When working in your schedule, click on the Add From Products button at the bottom left of the section.
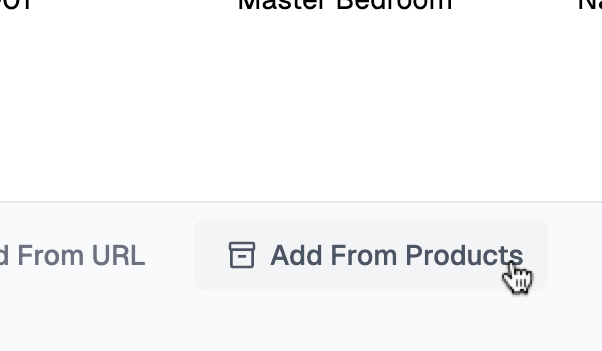
- Select your product — On the pop-up, you can search for your product, or select from your favourites. Click on the Product you want to add.
- Field Mapping — Review and adjust the Field Mapping on the pop-up, and click Add to Schedule. To learn more about Field Mapping, click here.
You can also add products to your schedule directly from the Products tab. To learn more about Products, click here.
Adding images to your schedule
You can add images to your schedule as a visual reference to your sections and/or specification proposals.
Adding images to your section header
To upload an image reference e.g. floor plan or sketch to your section heading, click on the section title and upload your JPEG or PNG file. Images in section headings will be visibly larger on your PDF export than those images in rows. To learn more about adjusting the size of the section image, click here.
Adding images within rows
To upload an image reference e.g. product photo to your row, you must have one field type set as Image. Click on the cell you wish to upload a photo into, and an Upload Image button will appear.
You can also add a note to your image field by clicking on the cell and selecting Add Caption. This is just another way to communicate specific details about the image or specification to your project team.
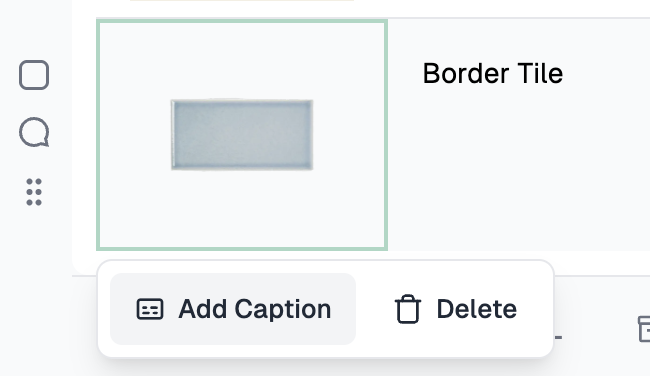
It is possible to either drag and drop your image into the cell, or copy and paste an image into your cell using keyboard shortcuts.
- Click on the image cell.
- Use the paste shortcut on your keyboard (Control + V or Command + V).
All Inspec pre-built templates have an image field.
To learn more about Inspec templates, click here.
To learn more about Field types, click here.
Removing the background from an image
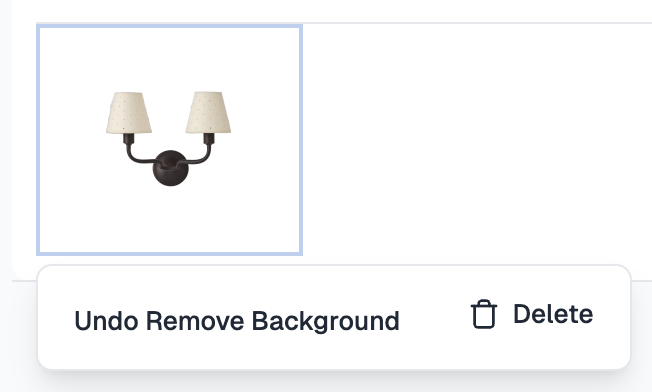
Our built-in AI generated background removal feature is available on image field cells that have a JPEG or PNG file uploaded. Click on the cell with the image, and select the Remove Background option from the dropdown.
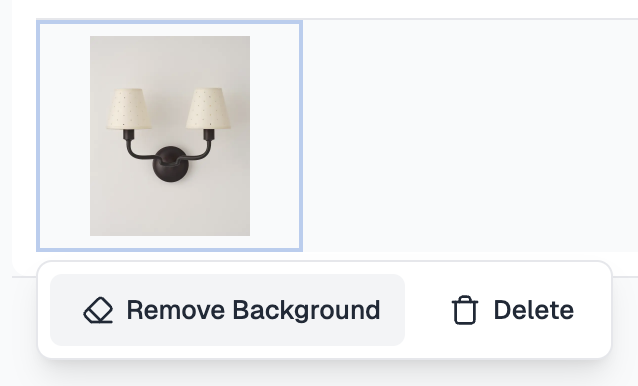
Results are not always perfect. If the outcome is not as you like, you can click on the Undo Background Removal button to revert to the original image.
Creating new suppliers from Supplier fields
If you're specifying a product from a supplier that's not yet in your database, you can add them directly from your schedule without interrupting your workflow. There's no need to navigate away to the Supplier Database, everything can be done right where you're working.
- Type the name of the Supplier into the field.
- Click + Create if the Supplier does not already exist in your database.
- A pop-up will appear prompting you to enter the rest of the Supplier's details. This will save you having to navigate away from your schedule page, however you can skip this step and do this later on the Suppliers tab.
- Once you've filled in all the details required, click Add Supplier. This will automatically add the supplier to your database, whilst also populating the data into your schedule.
To learn more about Suppliers, click here.