Schedule Export Settings
Control what information appears on your schedule PDF exports, including images, fields, hyperlinks, and attachments.
Managing your schedule export settings
Inspec gives you complete control over what information is shown in your schedule exports, as well as allowing you to customise the schedule cover page by adding custom fields alongside the defaults. To learn more about adjusting the schedule cover page, click here.
To control the image size in your sections, the visibility of hyperlinks, attachments or particular fields in your schedule:
- Click on the schedule Settings button in the top right corner of the screen and scroll to Export Settings.
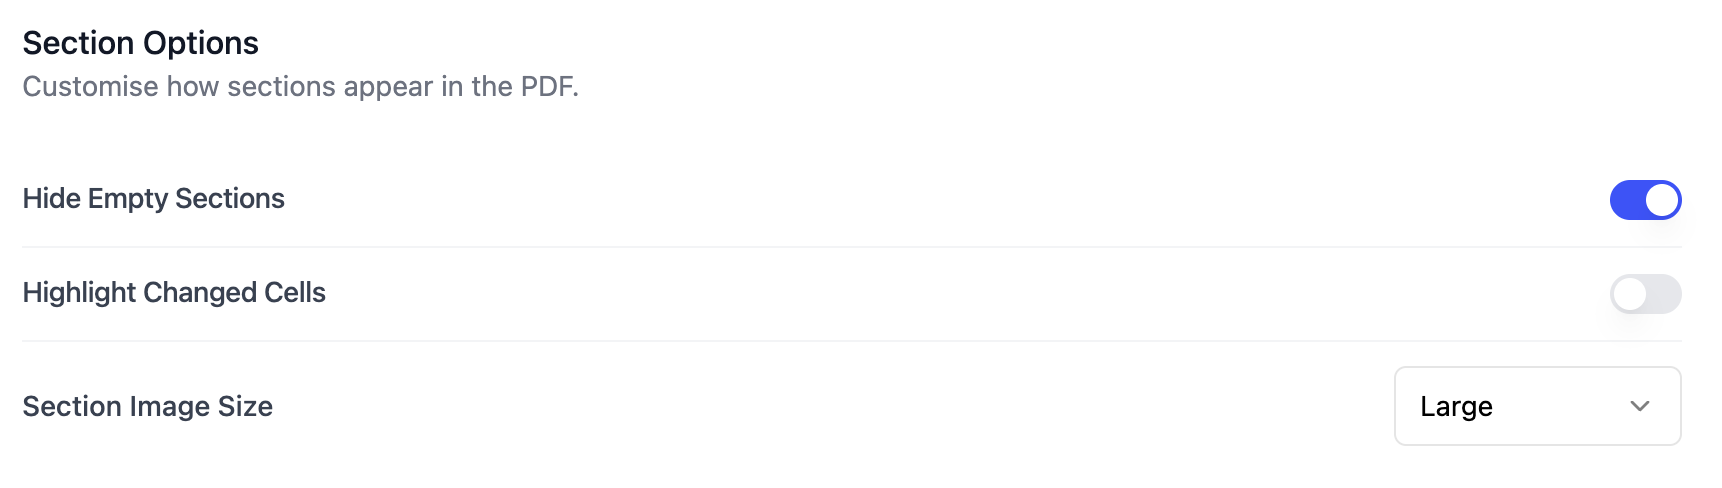
- By default, section images are large & all fields (including hyperlinks and attachments) are enabled. Toggle on/off anything you wish to hide/show on your PDF exports.
- To change the image size in your sections, select from the dropdown menu. (This does not apply to images within a row which are fixed.)
- Changes made to the default export settings will only apply to that schedule. You will need to adjust any other schedules within that project to match.
Schedule page layout on exports
All schedules produced on Inspec will export with our sleek layout and your company branding, including a title page, header and footer with company, project and schedule details, and the schedule disclaimer (if one has been included in the template). By default, all fields, hyperlinks and attachments are visible on schedule PDF exports, but you can customise the information shown on your schedule title page, as well as the section images, and visible fields throughout the schedule.
To learn more about customising the schedule cover page, click here.
Resizing your field widths
You have full control over the width of each field in your schedules. Depending on how many fields you have, you may need to scroll horizontally while editing to see all your columns.
When a PDF is exported, the field widths are automatically adjusted to ensure all the fields fit across the width of an A4 page. The field widths are calculated relative to the width they appear in the schedule page, so if you want a field to be wider or narrower in the exported PDF, simply adjust the width in the schedule page.
Dimension field types will always display vertically stacked in exports — one measurement below the other — regardless of the column width you've set while editing.
Hiding empty sections from exports
Empty sections will be hidden on PDF exports by default. To control the visibility of empty sections, click on the schedule Settings button in the top right corner of the screen and scroll to Export Settings.
Exporting specific rows in schedules
To export a PDF containing only specific rows or sections, use the Filter tool or select rows using the Checkbox to the left of each row or section, then export as normal.
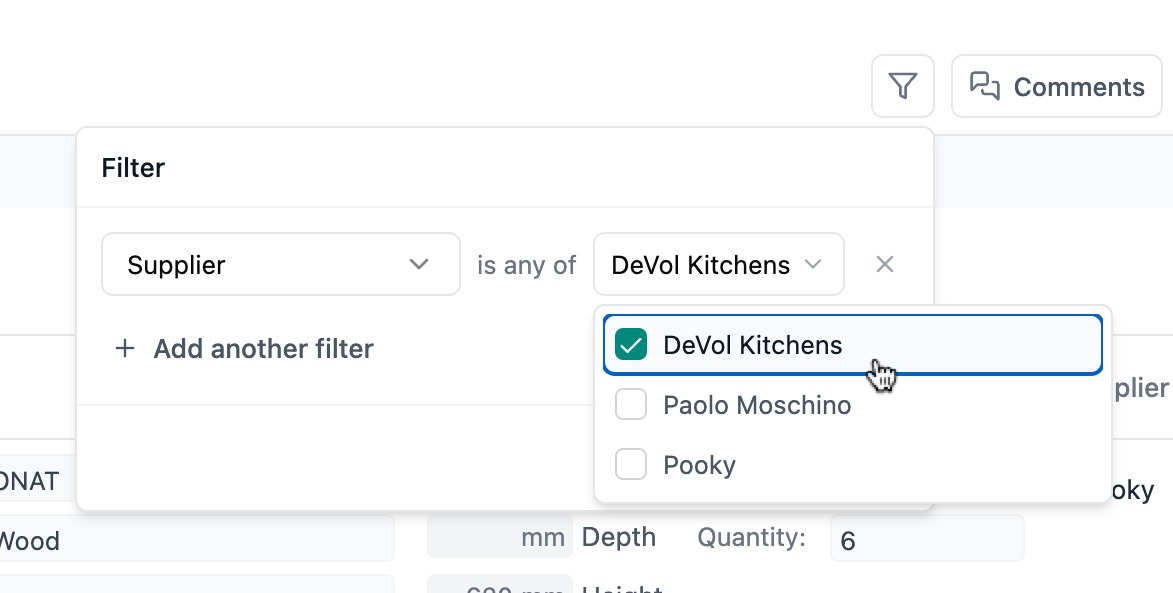
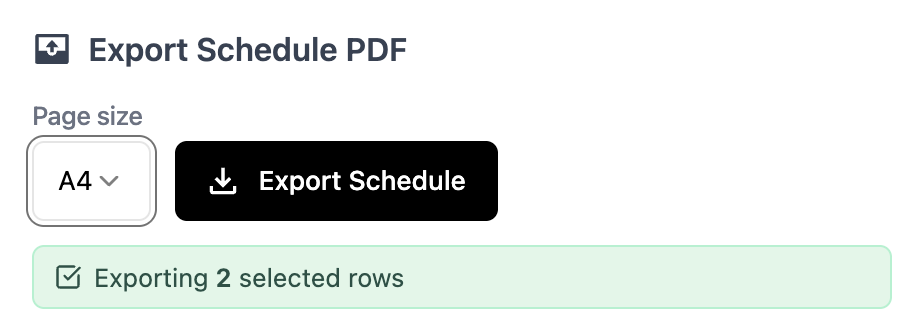
If using the Checkbox tool to select specific rows, you can also click on the Export PDF in the action bar at the bottom of your screen.

Shareable link and QR Codes do not support specific row selections or filters.
To learn more about how to filter your schedules, click here.
Controlling change tracking highlights
If you want to use Revision Control but don't want your schedule exports to have the orange highlight for modification visibility, you can turn this off in Export Settings. To learn more about Automatic Change Tracking, click here.
Related frequently asked questions
Intro to Schedules
Learn how to create, manage, and collaborate on specification schedules.
Adding Content to Schedules
Learn how to enrich your schedules with attachments, hyperlinks, products, and images.
Distribution, Exports & Sharing
Learn how to distribute schedules, export to PDF, and share via links and QR codes.